A contact form is an essential feature for any website, allowing visitors to communicate with you directly. Whether you're running a business, a blog, or a portfolio, a contact form provides an easy way for users to reach out without exposing your email address to spam bots. Here’s a step-by-step guide to setting up a contact form for your website.
Step 1: Determine Your Form Requirements
Before you begin, decide what information you want to collect through the form. Common fields include:
- Name: To identify the person contacting you.
- Email Address: To reply to their inquiry.
- Subject: To categorize their query.
- Message: To capture their detailed concern or question.
- Additional Fields: Optional fields like phone number, file uploads, or checkboxes for specific topics.
There are various ways to create a contact form, depending on your website’s platform and your technical skills.
1. Use a Website Builder Plugin
- For WordPress: Use plugins like WPForms, Contact Form 7, or Gravity Forms. These plugins are user-friendly and customizable.
- For Other Platforms: Check for built-in form tools or plugins specific to your platform, such as Wix Forms or Squarespace's Form Block.
If you have technical knowledge, you can write HTML and CSS for a custom form. Combine this with backend scripting (e.g., PHP, Python) and a database or email service to handle submissions.
3. Use Third-Party Services
Services like Google Forms, Typeform, or JotForm offer pre-built templates and integrations that you can embed on your website.
Step 3: Create the Form
For Website Builder Users
- Install and activate your preferred form plugin.
- Use the plugin’s interface to drag and drop fields into your form.
- Configure settings like field labels, required fields, and placeholders.
- Save and publish the form, and embed it on your website.
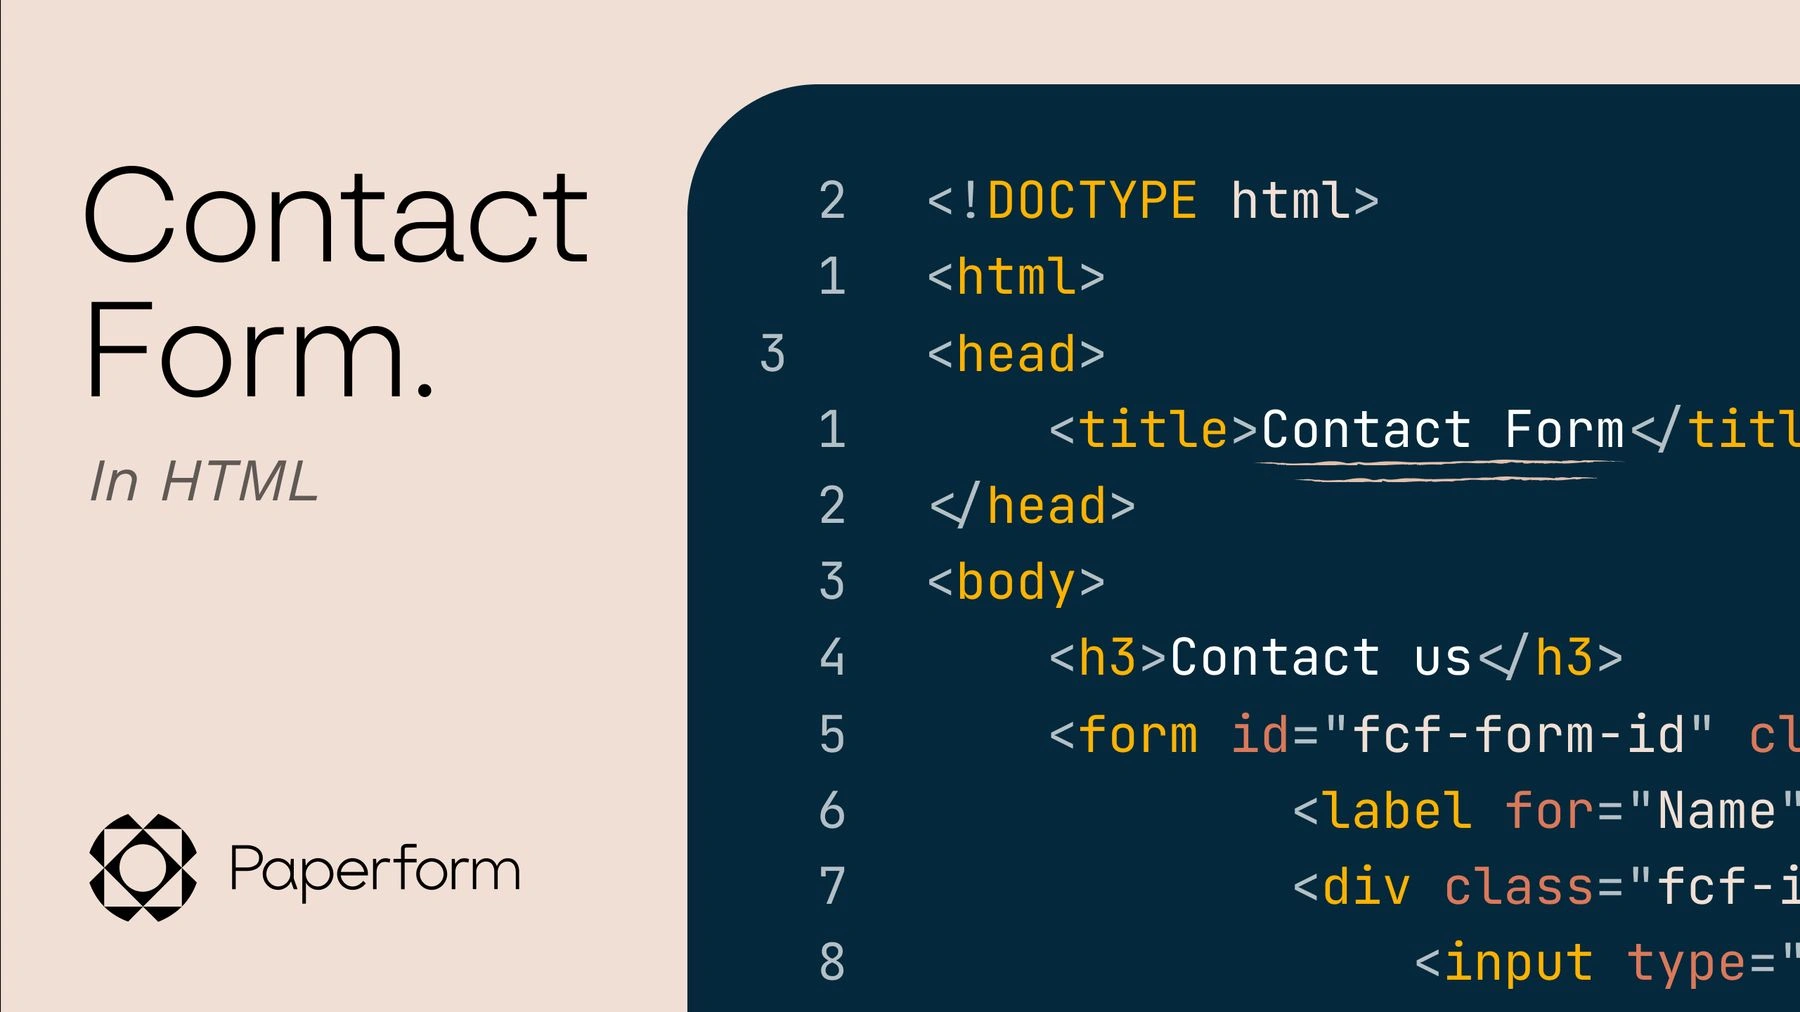
Here’s an example of a simple HTML form:
html
<form action="process_form.php" method="POST">
<label for="name">Name:</label>
<input type="text" id="name" name="name" required>
<label for="email">Email:</label>
<input type="email" id="email" name="email" required>
<label for="subject">Subject:</label>
<input type="text" id="subject" name="subject">
<label for="message">Message:</label>
<textarea id="message" name="message" required></textarea>
<button type="submit">Send</button>
</form>
You’ll need to create a backend script (e.g., process_form.php) to handle submissions.
For Third-Party Services
- Log into your chosen service.
- Use its form editor to customize fields and settings.
- Copy the embed code provided.
- Paste the embed code into your website’s HTML where you want the form to appear.
Via Email
- If using a plugin, configure the email settings so submissions are sent to your inbox.
- For custom code, add backend logic (e.g., using PHP’s mail() function) to send form data to your email.
- For advanced setups, store submissions in a database for tracking and analysis.
- Use backend languages like Python, PHP, or Node.js to insert data into your database.
These services typically handle submission storage and notifications for you, with easy access to submission data via their dashboards.
Step 5: Add Validation and Security
Validation
- Implement front-end validation using JavaScript to ensure required fields are filled and data is formatted correctly.
- Use server-side validation as a backup to prevent invalid data submission.
- Use CAPTCHA to prevent spam bots (Google reCAPTCHA is a popular choice).
- Sanitize inputs to protect against SQL injection and cross-site scripting (XSS) attacks.
Use CSS to make your form visually appealing and consistent with your website’s design. Adjust font sizes, colors, and spacing to improve user experience.
css
form {
max-width: 500px;
margin: auto;
}
label {
display: block;
margin-bottom: 5px;
}
input, textarea, button {
width: 100%;
padding: 10px;
margin-bottom: 15px;
}
button {
background-color: #007BFF;
color: white;
border: none;
cursor: pointer;
}
button:hover {
background-color: #0056b3;
}
Step 7: Test Your Form
Before going live, test the form thoroughly:
- Submit test messages to ensure proper email delivery or data storage.
- Check validation and security measures.
- Test responsiveness on different devices.
Place the form on a dedicated "Contact Us" page or in your website footer. Make sure it’s easy to find and use.
Conclusion
Setting up a contact form for your website doesn’t have to be complicated. By following these steps, you’ll have a functional, secure, and visually appealing form that makes communication seamless for your users. With a little effort, you’ll foster better engagement and build trust with your audience.
